
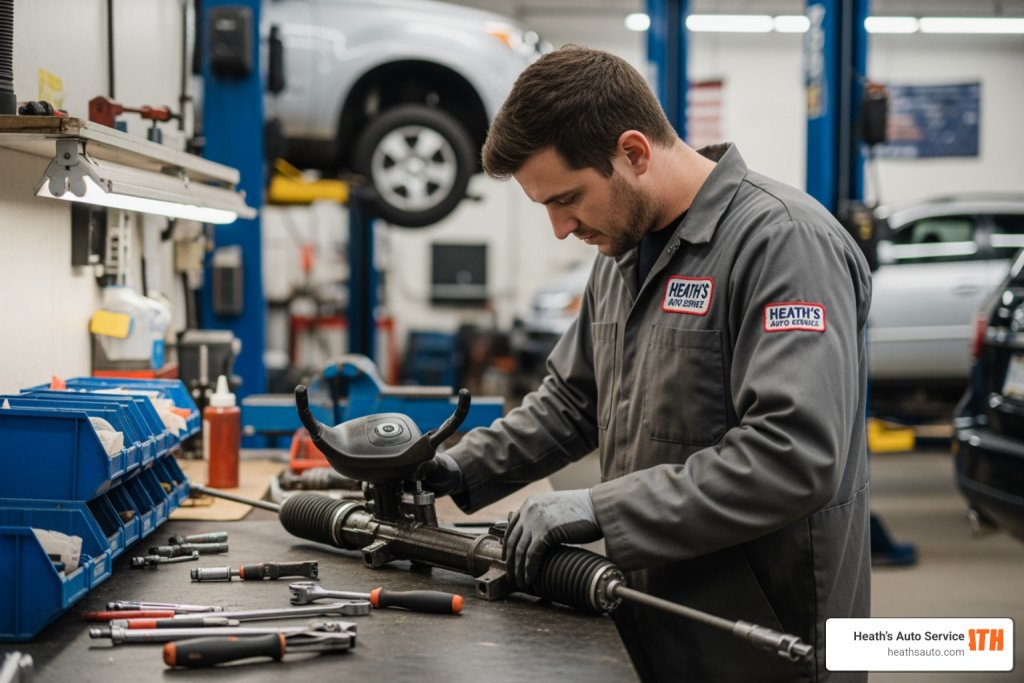
When Your Steering Feels Wrong, Don’t Ignore It
Fixing a steering rack is one of the most important repairs you can make to keep your car safe on the road. A worn or leaking rack can make your car wander, feel loose, or stiffen up — especially on cold mornings.
Here’s a quick overview of your options:
| Problem | Common Fix | Typical Cost (US) |
|---|---|---|
| Leaking seals | Seal/rebuild kit replacement | Lower cost option |
| Worn bushings | Bushing kit replacement | ~$50–$150 in parts |
| Internal wear or damage | Full rack replacement | $450–$2,500+ |
| Tie rod socket wear | Inner tie rod replacement | Moderate cost |
The right fix depends on how far the damage has gone. Minor leaks can sometimes be repaired. But heavy internal wear usually means a full replacement is the safer, more reliable choice.
Your steering system is one of the most safety-critical parts of your vehicle. Putting off this repair isn’t worth the risk.
In the sections below, we’ll walk through everything you need to know to make the right call for your car and your budget.
Understanding the Rack-and-Pinion System
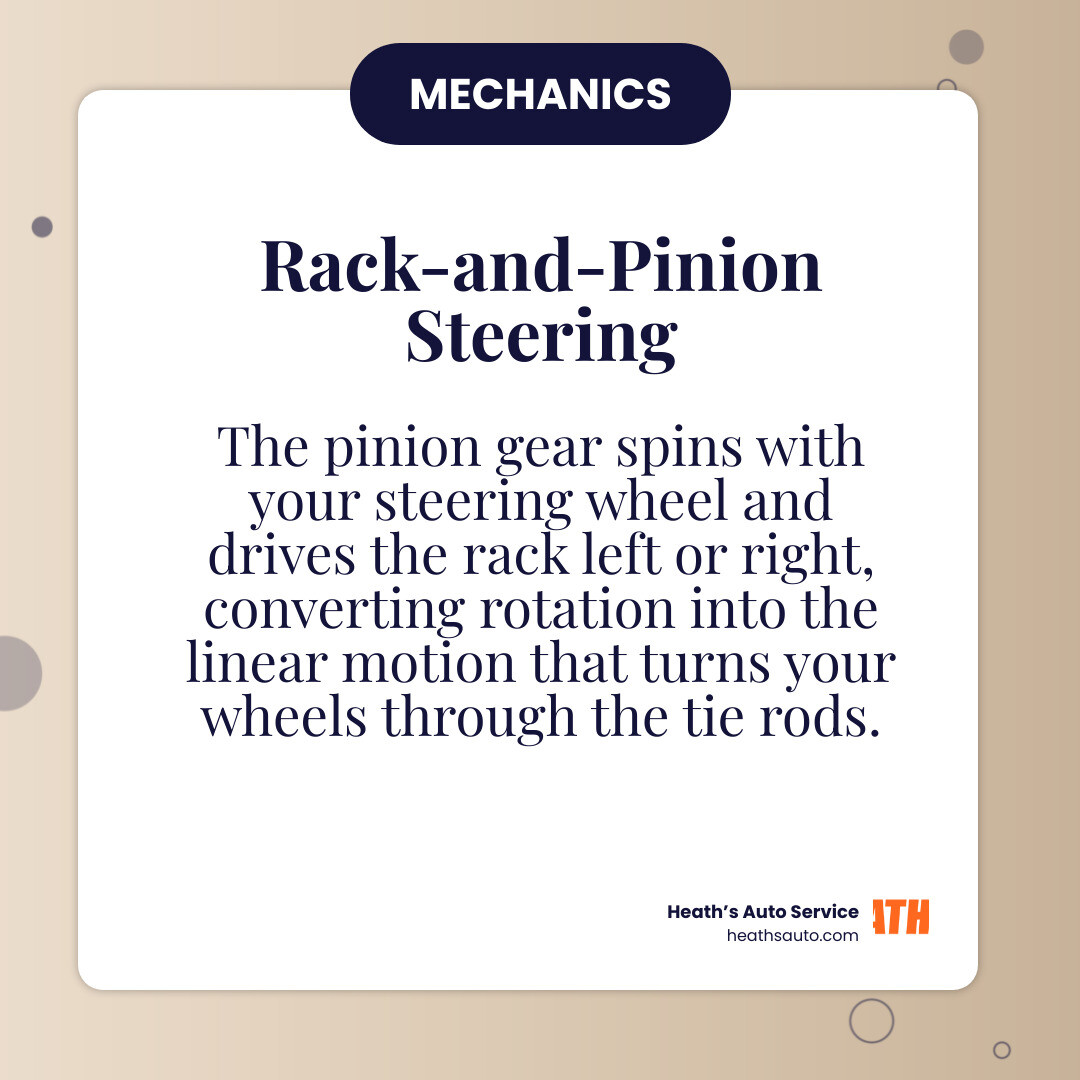
To understand the process of fixing steering rack issues, we first need to look at how your car actually turns. Most modern vehicles use a rack-and-pinion steering system. It is a elegant piece of engineering that converts the rotational motion of your steering wheel into the linear (side-to-side) motion needed to turn your wheels.
When you turn your steering wheel, it rotates a steering shaft connected to a small “pinion” gear. This gear meshes with teeth on a long metal bar called the “rack.” As the pinion spins, it moves the rack left or right. This movement is then transferred through tie rods to the steering knuckles, which finally turn your tires.
In a hydraulic system, a pump provides high-pressure fluid to help move that rack, making the steering feel light and easy. In newer cars, like many we see in Scottsdale or Gilbert, an electric motor provides this assist. Understanding this mechanism is vital because a failure in any one of these components—the teeth, the seals, or the gears—can compromise your safety. For more on how this integrates with your overall car health, check out What is a Car Suspension Service? or refer to this Steering Rack Replacement Guide.
Symptoms and Diagnosis: Is Fixing Your Steering Rack Necessary?
How do you know if you are actually facing a steering rack failure? Diagnosis starts with paying attention to how the car “talks” to you through the steering wheel.
One common symptom is what technicians often call “morning sickness.” This happens when the steering feels incredibly stiff or “notchy” when you first start the car on a cold Arizona morning but improves as the engine warms up. This is usually caused by internal wear in the rack housing, where metallic particles contaminate the fluid.
Other red flags include:
- Fluid Leaks: If you see red or clear oily spots on your driveway in Flagstaff or Prescott, your hydraulic seals might be gone. You can often find fluid pooling inside the rubber bellows (the “boots”) at the ends of the rack.
- Unusual Noises: Grinding or clicking when turning often points to worn gears or internal bearings.
- Steering Wander: If you feel like you’re constantly correcting the wheel to stay straight on the I-10, it could be Car Suspension Problems or a loose rack.
- Uneven Tire Wear: A failing rack can throw off your alignment, “eating” your tires prematurely.

If you suspect these issues, a dry park check is a great diagnostic step. With the wheels on the ground, have a helper rock the steering wheel while you inspect the inner tie rod sockets for any slop or play.
The Debate: Repairing vs. Fixing Steering Rack Components
When faced with a steering issue, the big question is: can we repair it, or do we have to replace the whole thing? Fixing steering rack assemblies via a rebuild is possible, but it isn’t always the best long-term value.
| Factor | Repair (Seal/Bushing Kit) | Full Replacement (New/Remanufactured) |
|---|---|---|
| Parts Cost | Low ($40 – $150) | High ($250 – $1,000+) |
| Labor Time | Very High (Intensive bench work) | Moderate (Remove & Replace) |
| Reliability | Variable (Depends on housing wear) | High (Often includes warranty) |
| Safety Risk | Higher if internal gears are worn | Lowest |
Repairing a rack—such as a Porsche 944 Turbo Steering Rack Rebuild—involves disassembling the unit to replace O-rings and Teflon seals. While this saves on part costs, it requires surgical cleanliness. If the internal metal housing is “scored” or scratched, new seals will fail almost immediately.
For most daily drivers in Gilbert or Chandler, we recommend a full replacement with a remanufactured unit. These units come with a “core charge” (a deposit you get back when you return your old rack) and provide much better peace of mind. To learn more about how these components interact with your shocks and struts, see Everything You Need to Know About Suspension Repair Shocks and Struts.
Step-by-Step Guide to Fixing Steering Rack Issues via Replacement
If you’ve determined that replacement is the only way forward, it’s a significant job. Whether you’re a seasoned DIYer or just want to understand what our ASE-certified techs are doing at Heath’s Auto Service, here is the general workflow for fixing steering rack problems by swapping the unit.
- Preparation: Secure the vehicle on jack stands. You’ll need at least 18 inches of clearance to work comfortably.
- Lock the Steering Wheel: This is critical! If the wheel spins freely while the rack is disconnected, you can snap the “clock spring” inside the steering column, which ruins your airbag system and horn.
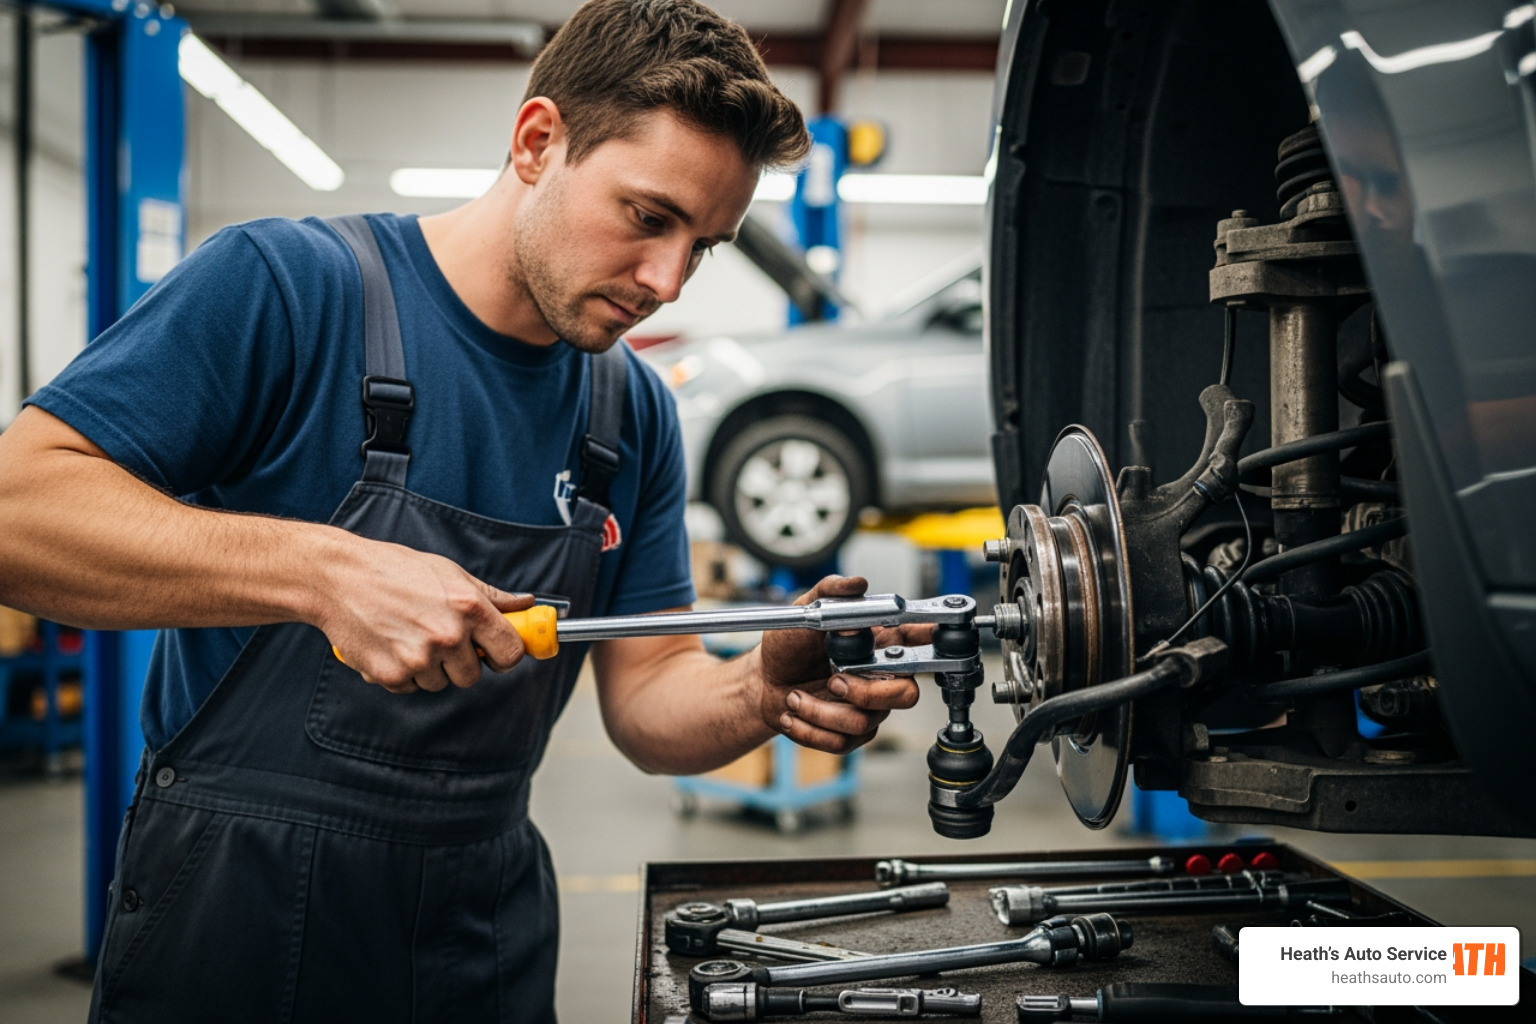
- Disconnect Tie Rods: Use a puller-type tool to pop the outer tie rod ends from the steering knuckles. Avoid using a “pickle fork” if you plan on reusing the tie rods, as it usually destroys the grease boots.
- Drain Fluid (Hydraulic): Disconnect the high-pressure and return lines. Be ready for a mess—have a drain pan handy.
- Unbolt the Steering Coupler: This connects the steering column to the rack. Mark the alignment with a paint pen so you can line it up perfectly later.
- Remove Mounting Bolts: The rack is usually held by two to four large bolts. On some vehicles, you may need to slightly lower the subframe to get enough clearance to slide the rack out through the wheel well.
- Center the New Rack: Before installing, turn the new rack all the way to one side, then the other, counting the turns. Move it back exactly half the number of turns to ensure it is centered.
- Installation: Slide the new rack in, reconnect the steering coupler, and torque the mounting bolts to factory specifications.
For more detailed technical steps, you can explore our Steering and Suspension Service page or this DIY Guide.
Essential Tools for Fixing Steering Rack Assemblies
You can’t do this job with a basic hardware store kit. To successfully tackle fixing steering rack issues, you’ll need:
- Flare Nut Wrenches: Essential for hydraulic lines to prevent rounding off the soft metal fittings.
- Tie Rod Puller: To safely separate the steering linkage.
- Torque Wrench: Steering components are safety-critical; every bolt must be tightened to the exact foot-pound specification.
- Universal Joint Sockets: These help you reach the awkward bolts located near the firewall or subframe.
- Drain Pan and Brake Cleaner: To manage the fluid mess and clean the area before installing the new unit.
Safety Precautions When Fixing Steering Rack Systems
Safety isn’t just about jack stands. When fixing steering rack assemblies, you’re dealing with explosive systems (airbags) and heavy structural components.
- Battery Disconnection: Always disconnect the negative battery cable. This prevents accidental airbag deployment while working near the steering column.
- Airbag/Clock Spring: As mentioned, never let the steering wheel rotate while the rack is out. Use the seatbelt or a steering wheel lock to hold it in place.
- Subframe Support: If your vehicle requires lowering the subframe for clearance (common on Nissans and some Fords), use a floor jack to support the engine or subframe so it doesn’t drop unexpectedly.
- EPS Calibration: If you have Electric Power Steering (EPS), like on a 2013-2019 Nissan Sentra, you may need a specialized scan tool to calibrate the steering angle sensor after the repair.
Post-Installation: Flushing, Bleeding, and Alignment
The job isn’t done just because the bolts are tight. One of the biggest mistakes DIYers make when fixing steering rack problems is skipping the system flush.
If your old rack failed due to “morning sickness” or internal wear, the fluid is likely full of microscopic metal glitter. If you don’t flush the pump and lines, that debris will flow right into your brand-new rack and destroy the seals within weeks.
How to Bleed the System:
- Fill the reservoir with the manufacturer-recommended fluid (often Dexron III ATF or specific Power Steering Fluid).
- With the wheels off the ground and the engine off, turn the steering wheel lock-to-lock about 20 times. This “burps” the air out.
- Start the engine and repeat the process. If the fluid looks foamy, let it sit for a few minutes and try again.
The Final Step: Alignment You must get a professional wheel alignment immediately after fixing steering rack components. Even if you “counted the threads” on your tie rods, your toe-in will be off. Driving without an alignment can make the car pull dangerously and will ruin a set of tires in just a few hundred miles. For a deeper look at why this matters for a smooth ride, see A Smooth Ride: Understanding Suspension Repair, Shocks and Struts.
Frequently Asked Questions about Fixing Steering Racks
Can I drive with a leaking steering rack?
In the short term, you can drive if the leak is very minor, but you must keep the fluid topped off. However, if the pump runs dry, it will overheat and seize, turning a steering rack job into a much more expensive pump and rack job. More importantly, a major leak can lead to a sudden loss of power assist, which can cause an accident if it happens while you’re turning.
Why is my steering tight after a repair?
It’s common to feel some “tightness” immediately after fixing steering rack bushings or seals. If non-OE (Original Equipment) parts were used, they might be slightly tighter than the factory specs. However, if the steering doesn’t “self-center” (return to the middle after a turn), the rack might be adjusted too tightly, or there could be binding in the steering column universal joints.
How much does a professional steering rack replacement cost?
Prices vary wildly by vehicle. The average cost in many regions is around $800 to $1,500, but luxury or specialty vehicles can easily top $2,500.
- Labor: Usually 4 to 7 hours.
- Parts: $200 (remanufactured) to $1,200+ (new OEM).
- Alignment: $100 to $180.
Conclusion
Fixing a steering rack is a complex, safety-critical task that ensures your vehicle goes exactly where you point it. Whether you are dealing with a nagging leak, “morning sickness,” or a complete loss of power assist, addressing the problem early can save you from more expensive repairs down the road.
At Heath’s Auto Service, our ASE-certified team has the specialized tools and experience to handle both hydraulic and electric steering systems. We provide full-service auto repair across six Arizona locations: Flagstaff, Prescott, Gilbert, Scottsdale, Chandler, and Cottonwood. We stand behind our work with a 3-year/36,000-mile nationwide warranty and are always happy to provide a free second opinion if you’ve been told you need a new rack elsewhere.
Heath’s Auto Service In Scottsdale, AZ
At Heath’s Auto Service, we offer a comprehensive range of services and repairs to meet all your automotive needs. From routine maintenance like oil changes and tire rotations to more complex repairs involving brake systems, engine diagnostics, and transmission issues, our highly skilled technicians are equipped with the latest tools and technology to ensure your vehicle is serviced to the highest standards. Contact our team today!